This article explains how to use Barcodes in the Production Dashboard.
Barcode scanning provides a nifty short-cut during your Production. It saves keystrokes, speeds up the process and eliminates typing errors. To use barcodes, we've taken the core quality processes our production hubs use and simplified it.
Simply plugin a barcode scanner to your Mac or PC (usually into the USB port) to play. When you or your supplier signs into Flyerlink and visits the , you'll see a Scan a Barcode section:

The field is active and ready to accept a barcode.
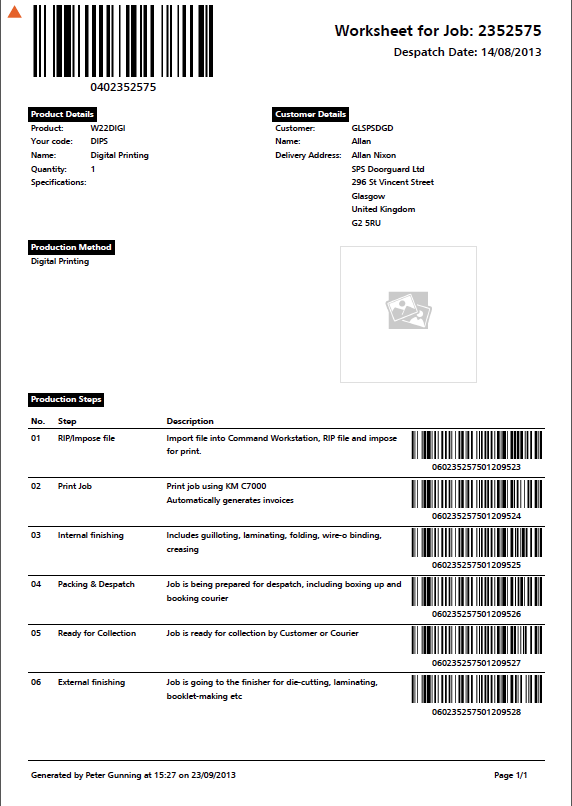
Each of the JobMaker Pack printouts have different barcodes on them.
If you've set up Production Steps for any of your Production Methods you'll see a unique barcode for each step on the Worksheet:
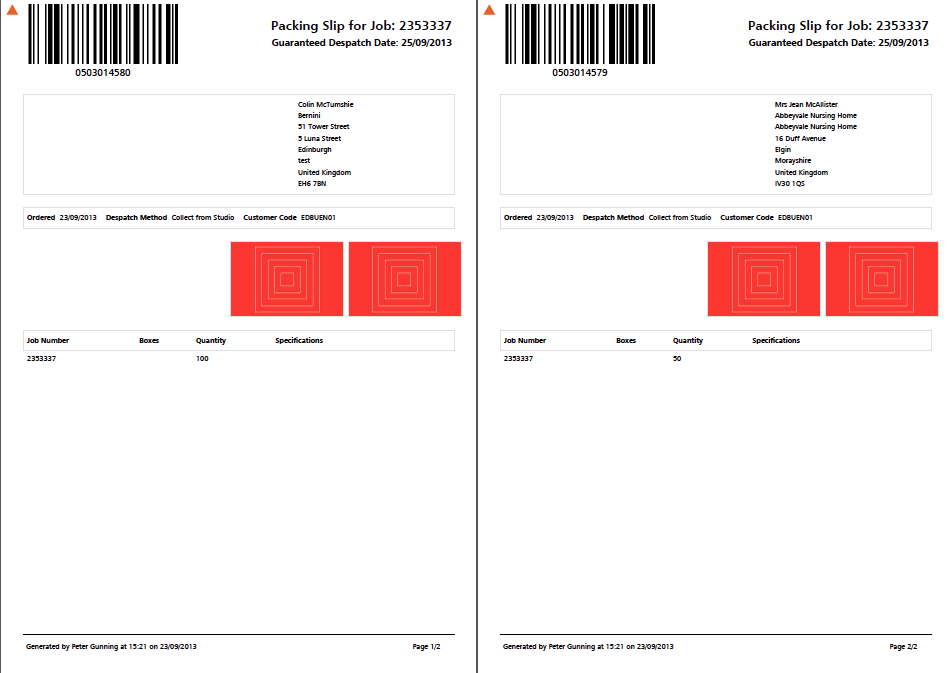
Likewise, you'll get a unique barcode for each delivery address your job is being shipped to in your Packing Slip:
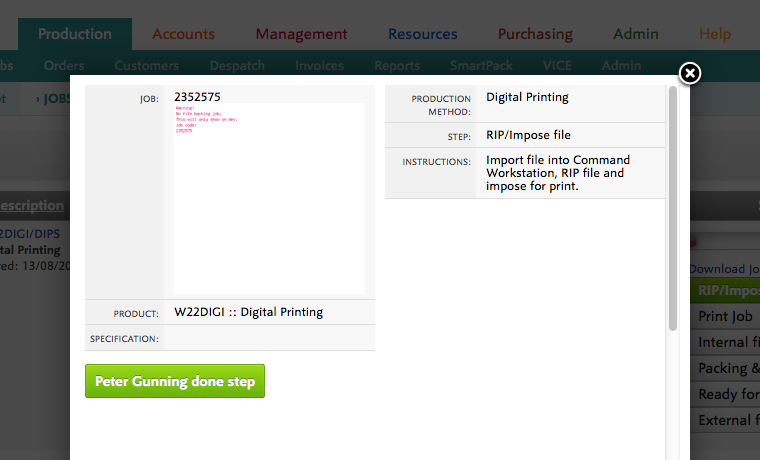
When you scan a production step barcode, starting with 060, on the Worksheet:

Flyerlink will open a pop-up and take you to the appropriate step to complete:
Scan the large barcode, starting with 040, on your Worksheet:
Flyerlink will link you to that Job's page.
Scan the large barcode, starting with 050, on your Packing Slip:
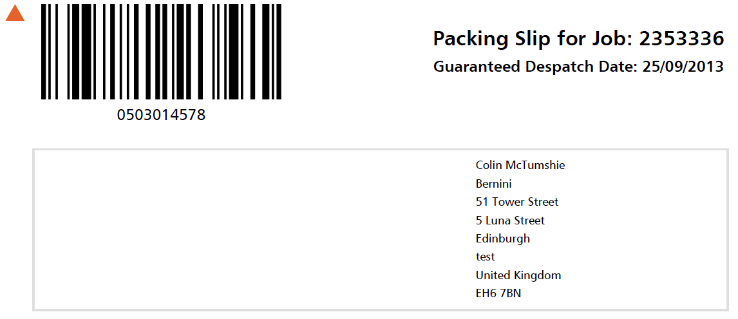

and you'll be taken to a despatch job screen:
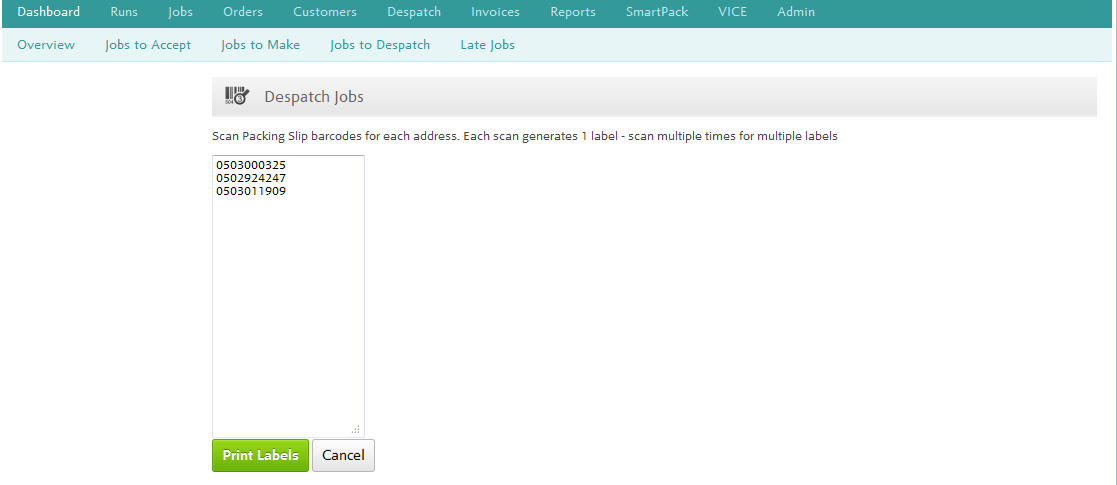
with this screen you can Despatch multiple jobs at once.
Simply scan the delivery barcode on your Packing Slip the number of times you want a despatch label.
Scan twice to get two Despatch Labels. Alternatively, you can scan two or three different jobs at any given time, to despatch in full several jobs at once.
Stock Pick items are ones you may want to despatch all at once.
Flyerlink provides a Picking List in and in .
The Packing Slip will show you a list of all the Stock Pick items currently awaiting picking, along with their barcodes.
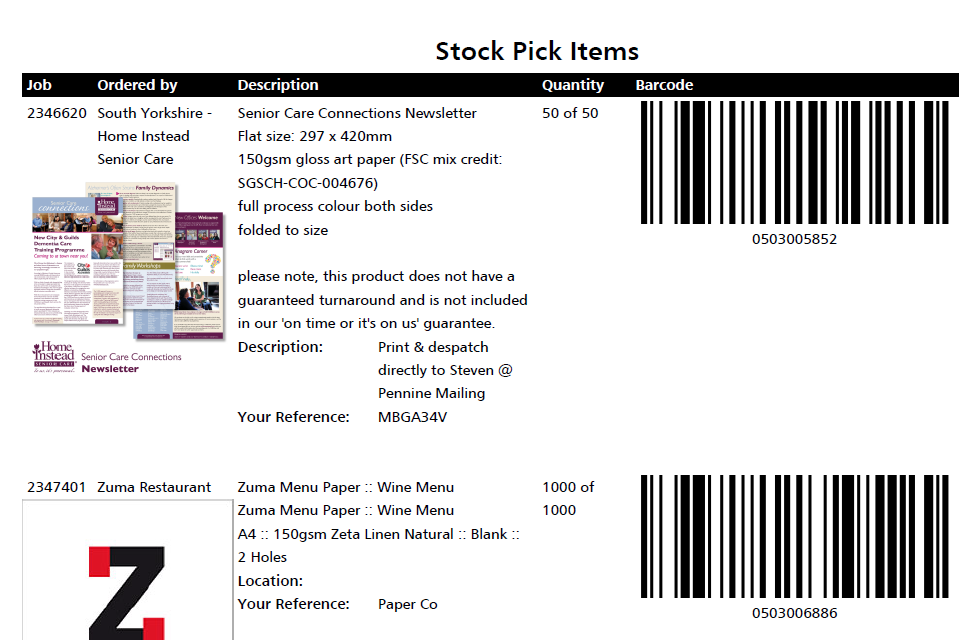
Simply scan the barcodes you want to despatch and you'll be given a list of all the despatch labels you need to complete a batch despatch.
Jump to contents page of
|
|||