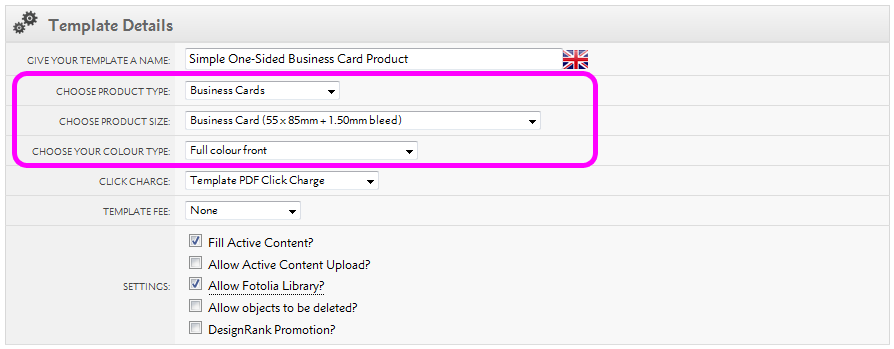
Firstly, complete the Template Details menu:

Ensure that you choose the correct colour type to match the products that your client is going to be able to order from your template. For example, if your client requires full colour both sides plus Spot UV on the front, then you choose the appropriate Colour Type option.
Next complete the Template Settings menu:

DO NOT set the Allow objects to be deleted? to yes if your InDesign® file contains x_layers for elements such as die cuts or spot UV.
Finally you need to complete the Product Options menu that determines which products can be ordered with each template:

The choice of products available is determined by the combination of template size and colour type. Products can be selected by zone, category, group or on individual product code basis.
Choose your product, press Add it, then Add further products to build up a matrix if required, then lastly Save Template.
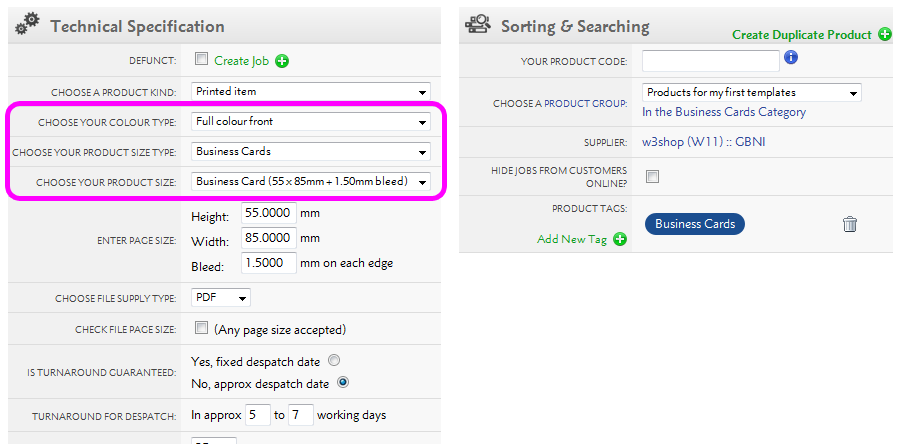
If you are adding an In-House/OpenSource product to a Template, then you'll need to ensure that your Product Size and Colour Types in the Product, match the Product Size and Colour Types in the Template set up.
Example: Template Details Page
Template Details

Example: Product Details Page
Technical Specification

For a Product to be eligible to a Template, the Product Size & Colour Type need to match.
If they do not match you'll get the following error message:

Product codes for Folded Leaflets and Banner Stands must be chosen from the Template Product Zone, NOT the standard Leaflets Product Zone or Posters & Exhibitions. This is so you can specify fixed Finishing Notes e.g. the type of fold or attach the poster to a stand.
With Folded Leaflets, if you use a normal Product Code then the end user will be asked to choose a folding type when they check out. This could lead to the wrong one being selected.
If the specific folding option or product code you require is not present please email operations@printing.com indicating what product codes you require duplicating and the specific fold that is required.
We can speed up the process when you have multiple templates to build for the same client. Set the first one up, then once you have completed all 7 steps you will be able to create a duplicate. To do this just click the Create Duplicate Template button:

You will be presented with 3 options:

Just copy settings, I'll upload a new file
This will duplicate all the size, colour options, tags and customer permissions. You'll need to upload a new file though.
Copy files, settings and build a duplicate template
This will duplicate all the size, colour options, tags and customer permissions. It will also make a duplicate of your InDesign® file and build a template ready for you to test.
SmartSize my file to Imperial and build template
This will duplicate all the size, colour options, tags and customer permissions. It will also make a duplicate of your InDesign® file and adjust the size to use imperial measurements. A template will then be built ready for you to test.
Next...
|
|||