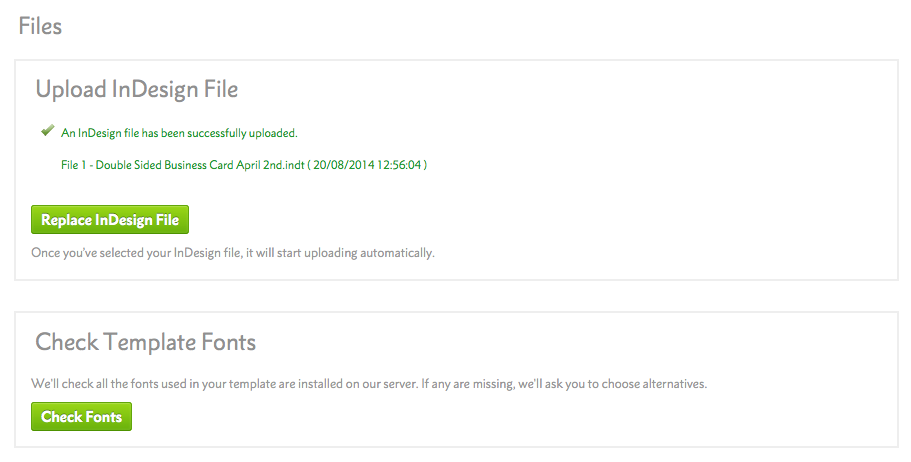
The Check Fonts button appears once the InDesign® Template file has been successfully uploaded. Press this and we will check to ensure that the fonts present in your Paragraph Styles are present on our server.

If you have used a font which is not from the Template Font List you will be prompted to choose a substitute from our library:

The Build Template button appears once the InDesign® Template file has been successfully uploaded. The build process will take a couple of minutes to process.

When you click Build, we now build 2 versions of your template. We build a version that is compatible with the current live version 1 editor, and we also build a version ready for our forthcoming version 2 editor. This means that template building takes between 2 and 10 minutes on average. So that you can continue to use Flyerlink®, we have made adjustments so that you can browse away from your template record whilst it is being built. w3process Panel will keep you up to date as to the status of your template.
Upon pressing build, this window will appear in the bottom right hand corner of Flyerlink®:

This status means that your template is queued ready to be converted.
Once the template conversion process starts, the w3process Panel will change to:

You can continue to use other areas of Flyerlink®, when your template has been built, the w3process Panel will go green:

At this point you can click on any of the white text, and this will take to to the Try Template stage. Alternately you can click the 'X' and close the w3process Panel.
If your template fails to build, then we'll display a red w3process Panel:

If you get an error message refer back to the Pre Upload Checks. Once you have resolved the issue(s) and re-saved your new InDesign® Template file, click Replace InDesign File…, upload your new file and click Build Template again.
Repeat until the Test PDF File section has appeared:

Next...
|
|||