Fabric Templates
Generic Fabric Artwork Guidelines
QuietZones & Bleed
How to supply Fabric Banner Stands
How to supply a Media fabric display stand
How to supply backdrop Fabric Display Stands
How to supply Custom Sized Fabric
Download the appropriate InDesign templates to start your design from.
Artwork should be supplied at 100% size and should adhere to the following guidelines:
DO NOT try to colour match vector colours to rasterised colours on artwork elements. The rip treats these differently and there will be a visible difference in the final print.
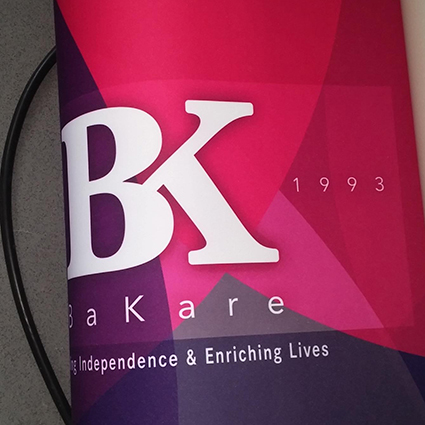
Here is an example of how they may look, the 'BK' logo had a drop shadow applied in a vector application resulting in the colour behind the logo being lighter:
Place the vector and bitmap artwork combined into Photoshop instead to create one bitmap image. You can have vector text and elements, just don't try to colour match them to a bitmap.
This includes vector elements containing opacity changes, transparency effects and vector gradients. Layered psd files also need to be flattened.
Respect the Quiet Zones (blue shaded area below). Fabric stretches and shrinks (different amounts in different directions) during the production process so there is less accuracy compared to paper.
The templates may appear unusually large or proportioned. This is to allow for the stretch/shrinkage of the material. For best results, keep all important elements such as text and logos well within the quiet zone areas but bleed background images/colours to the page edge. Do not try to match up designs from the front to the reverse.
The trim guide on the template shows roughly where the fabric will be cut. Please bleed your artwork to the page edge.
Finishing Fabric Displays is a manual process of cutting and stitching, therefore additional bleed is required. For raw fabric add 50mm bleed to each edge of the finished size you require.

How to supply fabric display products
|
|||||||
Fabric Templates
Generic Fabric Artwork Guidelines
QuietZones & Bleed
How to supply Fabric Banner Stands
How to supply a Media fabric display stand
How to supply backdrop Fabric Display Stands
How to supply Custom Sized Fabric
Download the appropriate InDesign templates to start your design from.
Artwork should be supplied at 100% size and should adhere to the following guidelines:
DO NOT try to colour match vector colours to rasterised colours on artwork elements. The rip treats these differently and there will be a visible difference in the final print.
Here is an example of how they may look, the 'BK' logo had a drop shadow applied in a vector application resulting in the colour behind the logo being lighter:

Place the vector and bitmap artwork combined into Photoshop instead to create one bitmap image. You can have vector text and elements, just don't try to colour match them to a bitmap.
This includes vector elements containing opacity changes, transparency effects and vector gradients. Layered psd files also need to be flattened.
Respect the Quiet Zones (blue shaded area below). Fabric stretches and shrinks (different amounts in different directions) during the production process so there is less accuracy compared to paper.
The templates may appear unusually large or proportioned. This is to allow for the stretch/shrinkage of the material. For best results, keep all important elements such as text and logos well within the quiet zone areas but bleed background images/colours to the page edge. Do not try to match up designs from the front to the reverse.
The trim guide on the template shows roughly where the fabric will be cut. Please bleed your artwork to the page edge.
Finishing Fabric Displays is a manual process of cutting and stitching, therefore additional bleed is required. For raw fabric add 50mm bleed to each edge of the finished size you require.

(1).jpg)
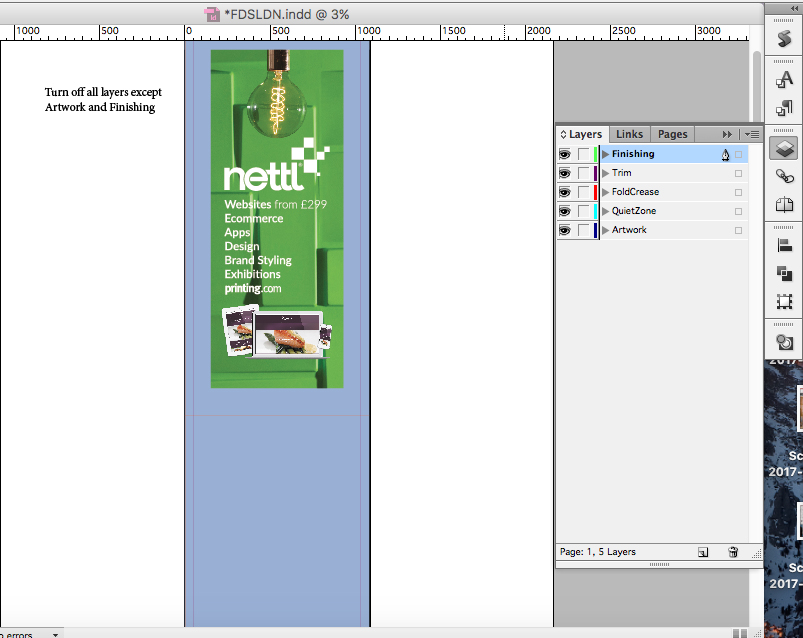
The base of all Fabric banner stands are integrated into frame shape. The curvature of the base on each stand is different. These guidelines indicate which parts of the design will be visible or not.
| Product code | Product Name |
| FDSKES? | Totem Pop up Stand - 2.3m |
| FDSLDN? | Python Pop up Stand - 2.3m |
| FDSWIN? | Baby Python Pop up Stand - 1.9m |
| FDSDUB? | King Python Pop up Stand - 3.5m |
Fabric File Supply
Using InDesign TGI Templates for Fabric
The Quiet Zone Guide should not be present on the "Print Ready PDF".
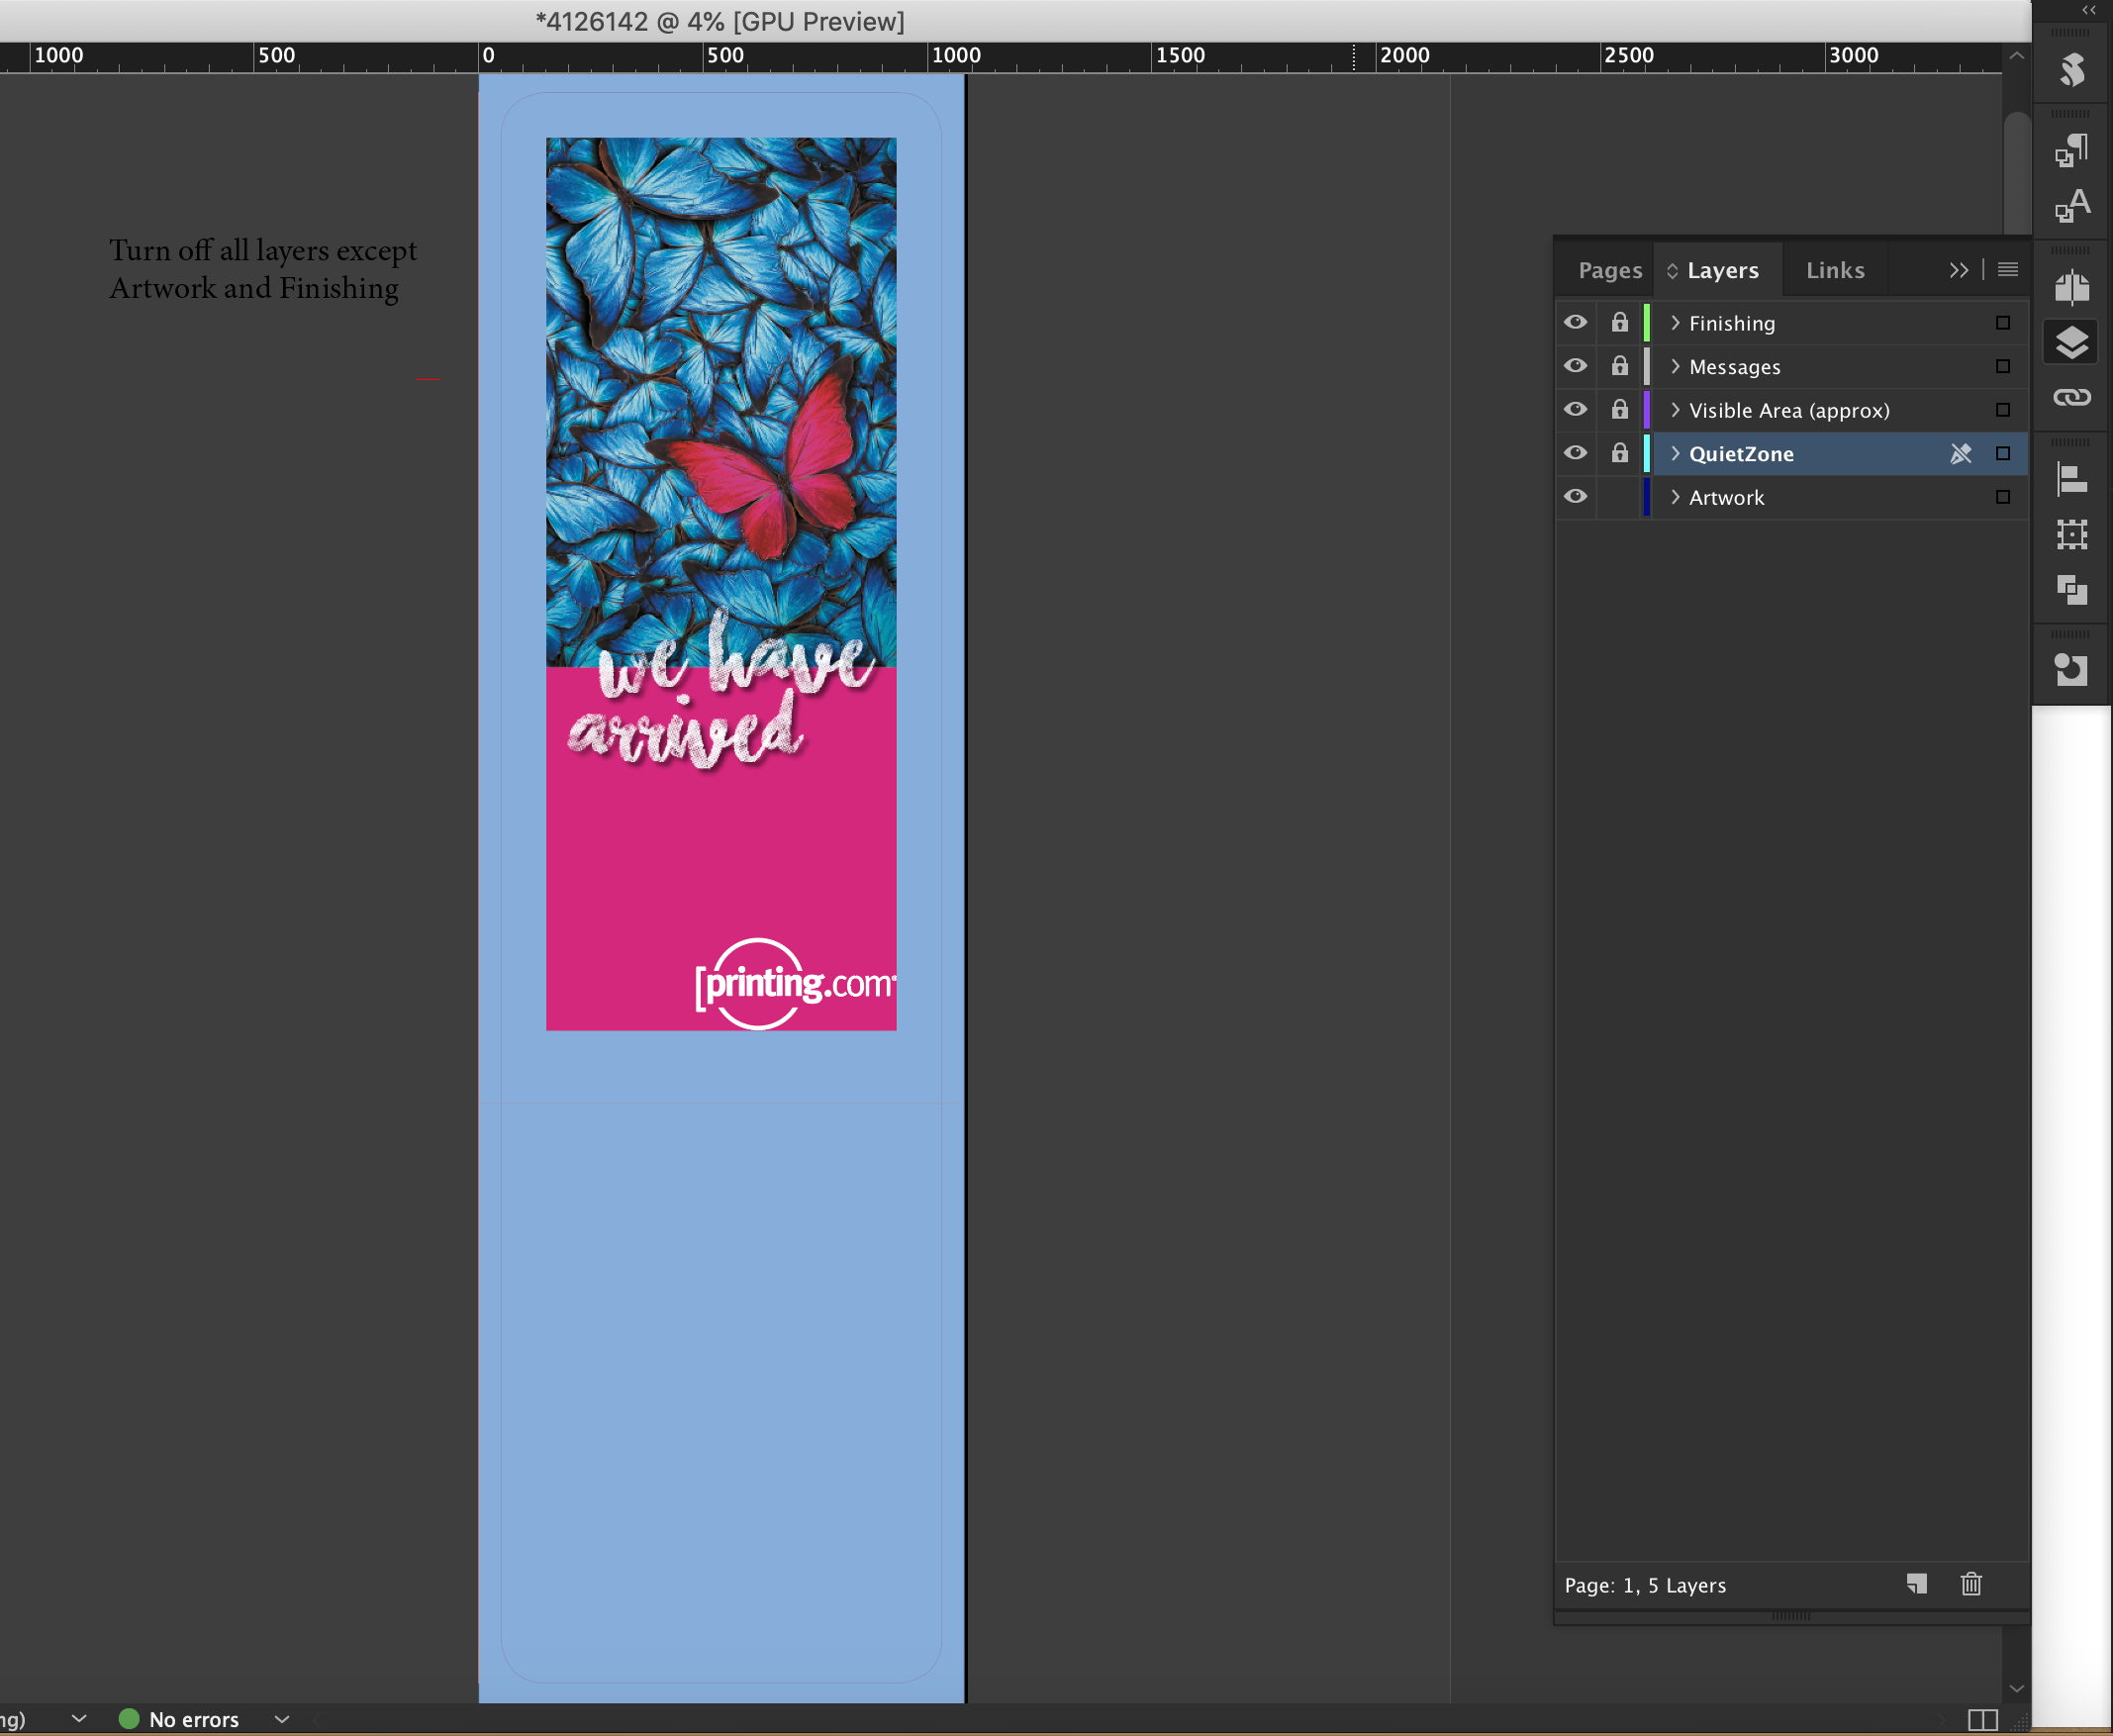
Artwork sitting behind the quiet zone at the bottom sits beneath the frame.
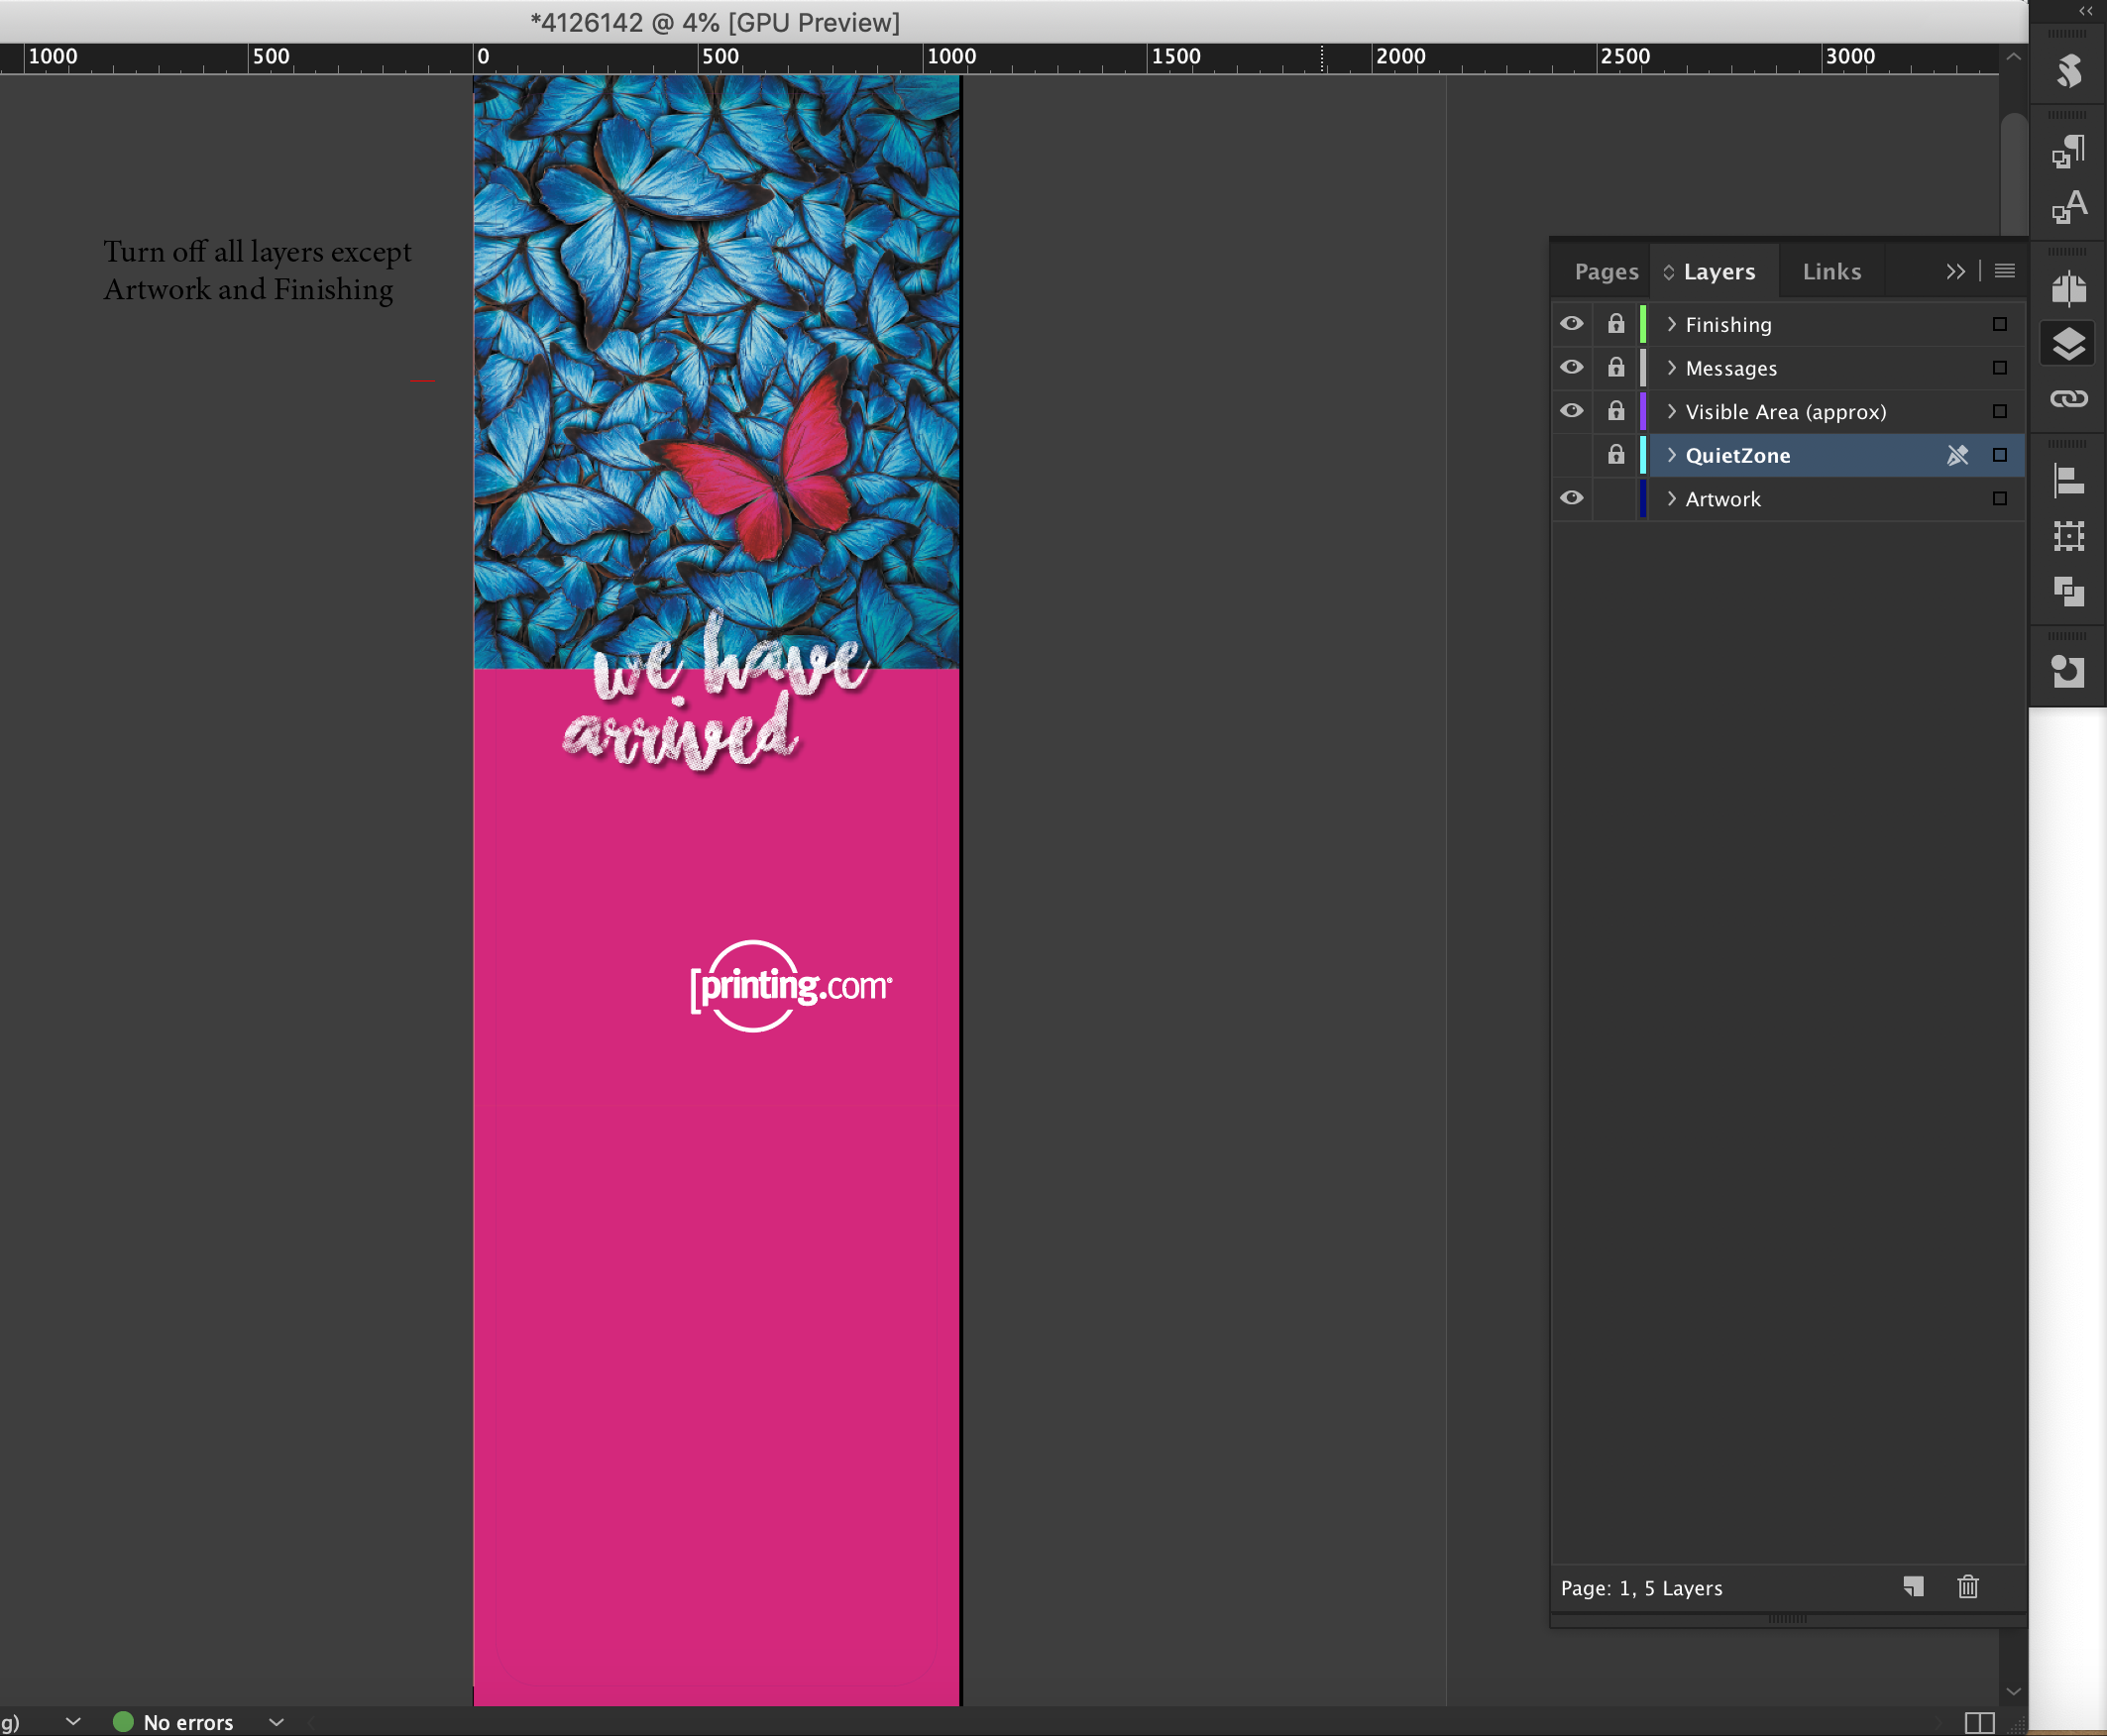
Shows the approximate hemmed and stitched visible area of the finished item. This layer also indicates any folds or bends of the hardware that affect the visible area of the finished product.
The Visible Area/Trim Guide should not be present on your "Print Ready PDF".
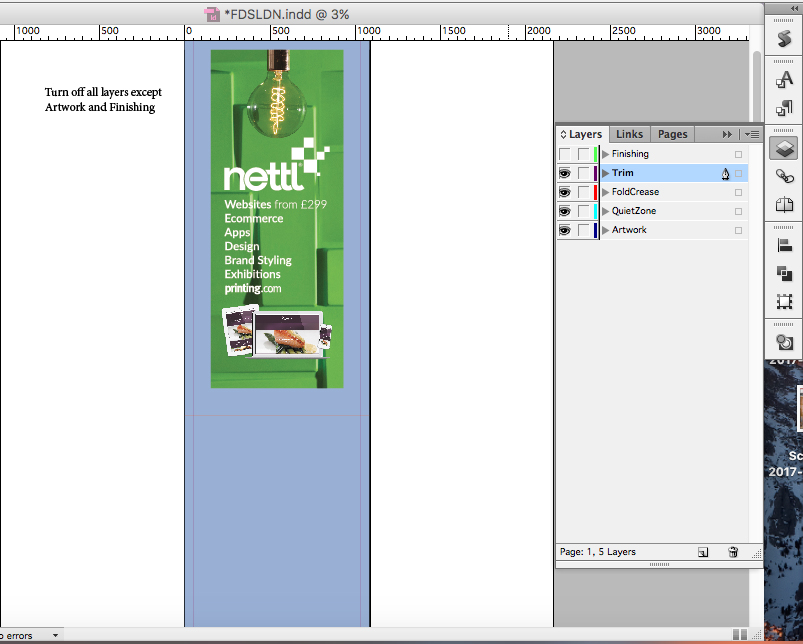
Contains a 2pt keyline page frame and a red or blue guide line on one edge to assist with our cutting template and to indicate the front and reverse file.
This layer must be present on your PDF.
This article provides guidance on supplying artwork for the backdrop fabric displays.
| Product code | Product Name |
| FDSCHI? | Stage18 Straight Backdrop |
| FDSNYC? | Stage30 Straight Backdrop |
| FDSSAN? | Stage46 Straight Backdrop |
| FDSHAM? | Rialto Connecting Bridge |
| Product code | Product Name |
| FDSBLN? | Curve24 Curved Backdrop |
| FDSROM? | Curve30 Curved Backdrop |
|
FDSDUR? |
Curve50 Curved Backdrop |
| FDSMAL? | Crest40 Curved Backdrop |
Fabric File Supply
Using InDesign TGI Templates for Fabric
Your regular artwork layer, where you place your design.
Please fill the entire page with your design.
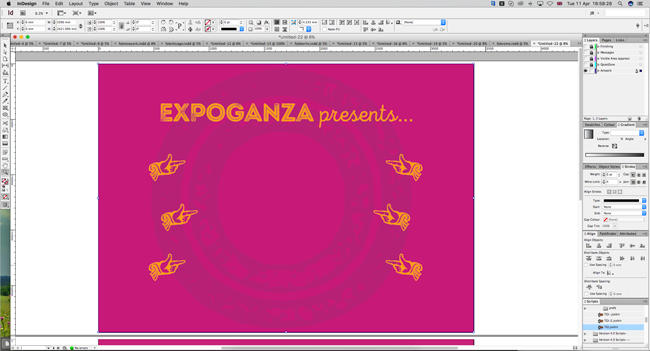
The Quiet Zone Guide should not appear on the "Print Ready PDF".
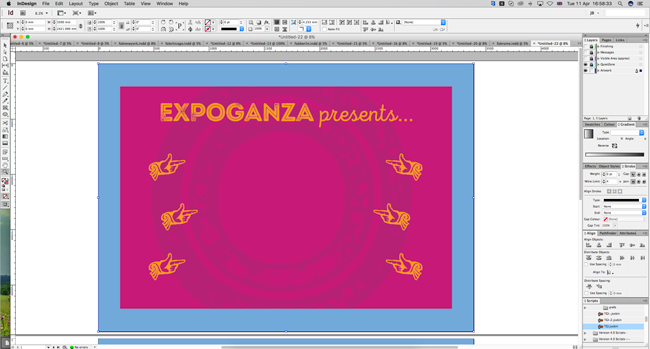
Shows the approximate hem/stitch/trim area.
The Visible Area layer should not appear on the "Print Ready PDF".
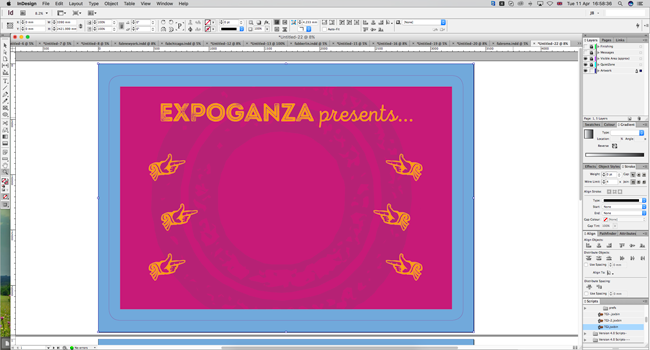
May contain a red guide on one edge to assist with our cutting template. This layer must be present on your PDF.
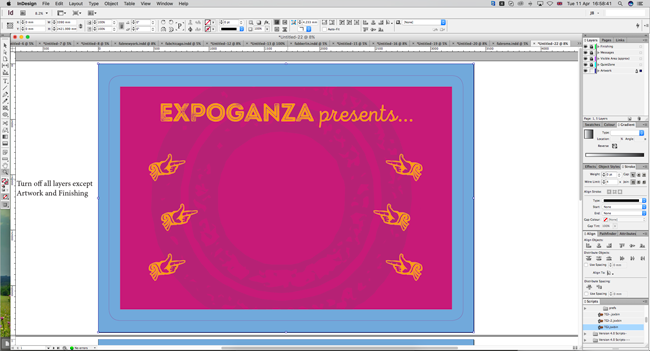
Due to pdf size limits, the template will be supplied at 50% scale. Your final pdf must be sent at the template size, your artwork will be rescaled at the printing stage.
You should factor this in when positioning and spacing elements. Particular consideration should be given for image resolution as the resolution will drop accordingly when scaled up.
The Bridge is an optional extra that can be attached to any of the three Straight Backdrop products.
The template is similar to the Media stand templates as it has a an optional TV Bracket.
With the addition of some extra guidance for positioning provided on the right hand side of the template.
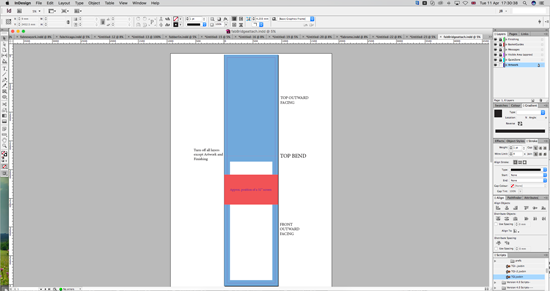
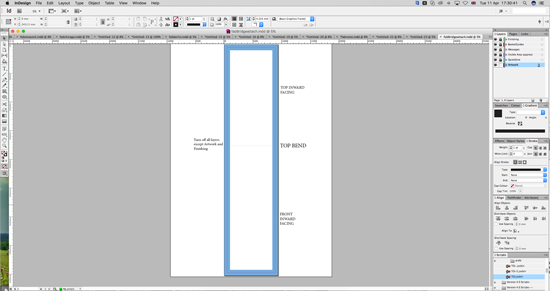
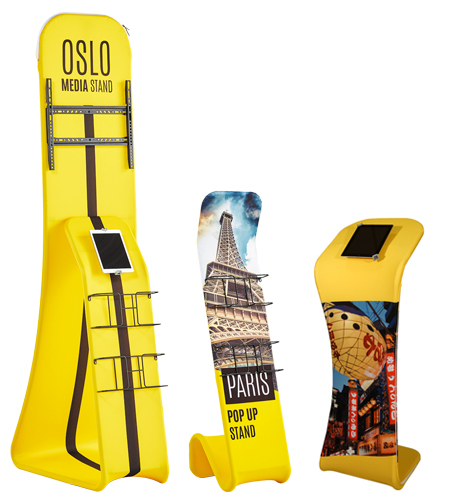
This article provides guidance on supplying artwork for display stands that feature additional attachments for media content. This includes things TV brackets, Literature baskets or tablet holder.
| Product code | Product Name |
| FDSOSL? | Peacock Media Stand |
| FDSPAR? | Kangaroo Literature Stand |
| FDSOSA? | Padium Tablet Stand |
| FDSMIL? | Queen Peacock Stand |
Fabric File Supply
Using InDesign TGI Templates for Fabric
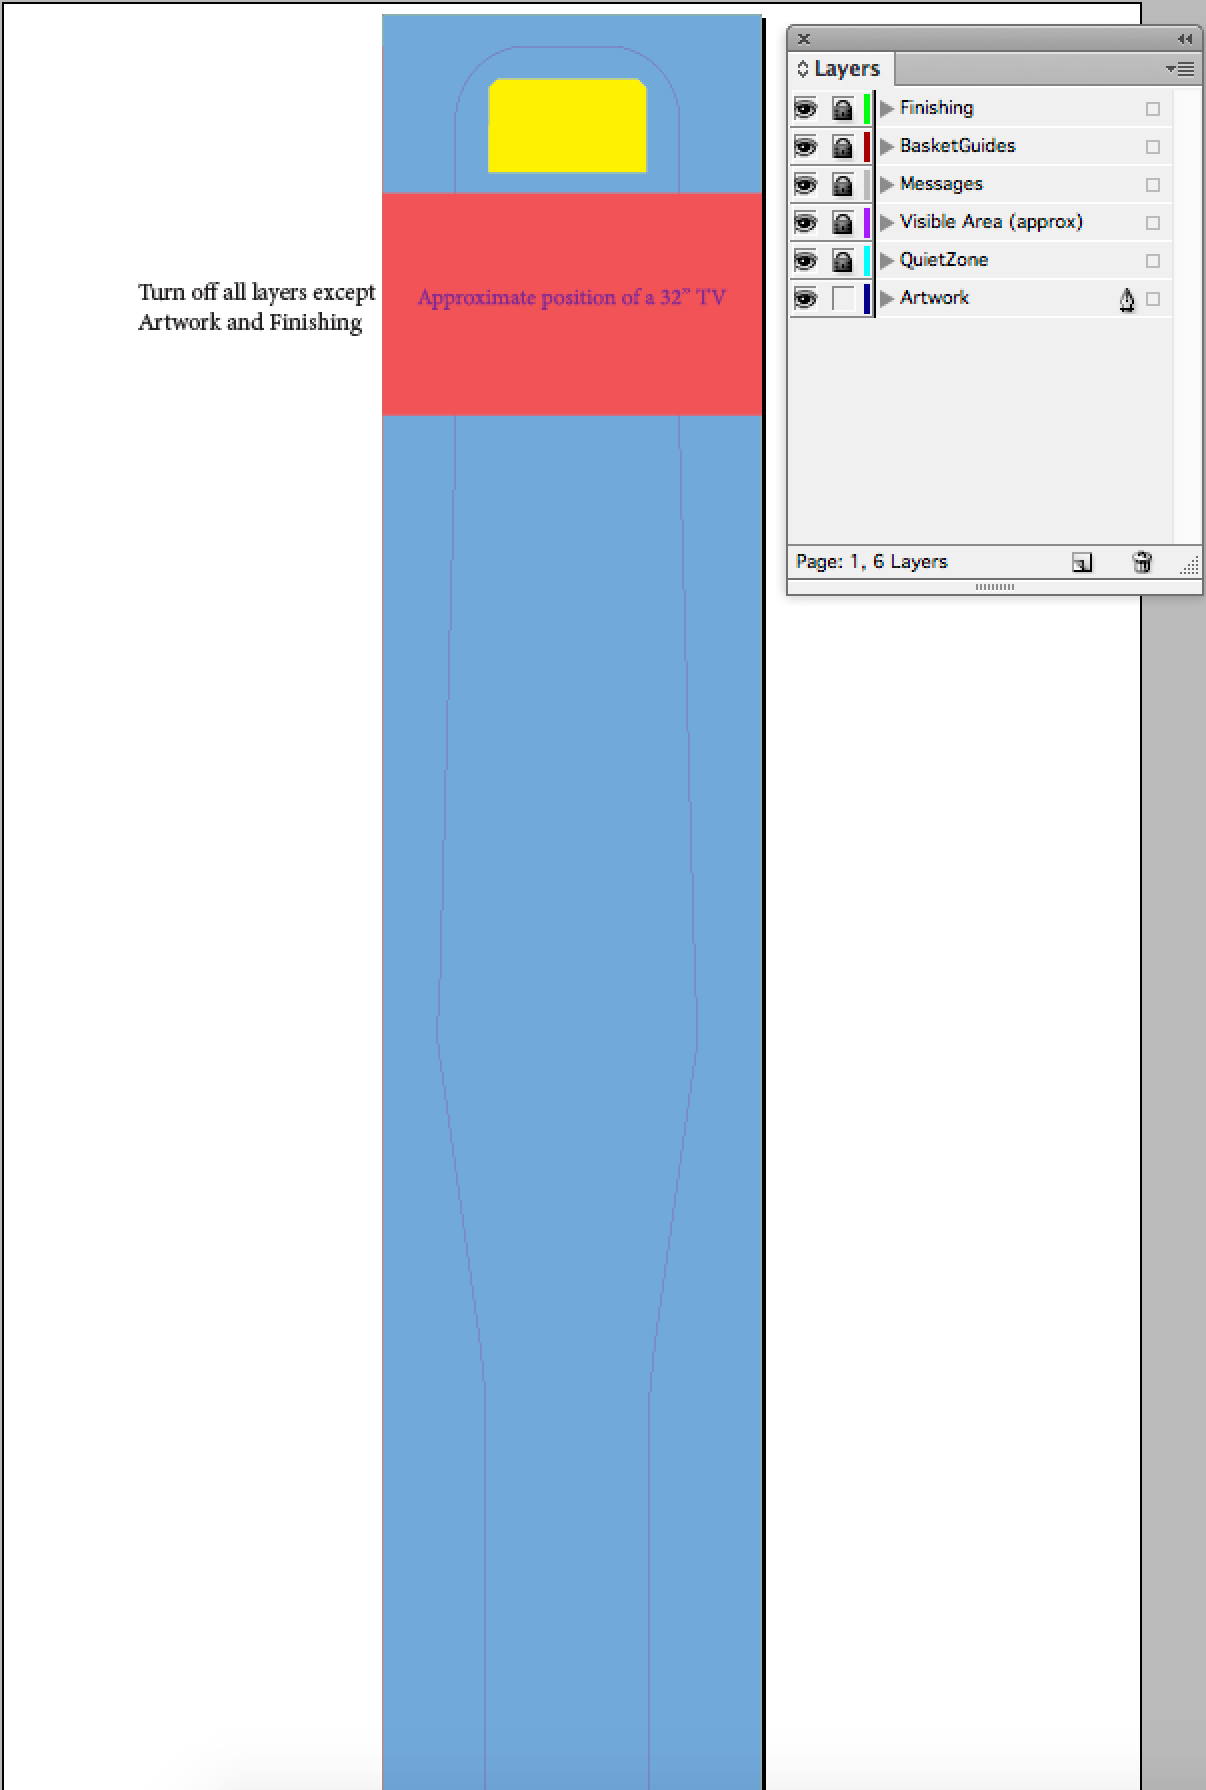
Respect the (Blue) quiet zones. Fabric stretches and shrinks (different amounts in different directions) during the production process so there is less accuracy compared to printing on paper. The templates may appear unusually large or proportioned. This is to allow for the stretch/shrinkage of the material.
For best results, keep all important elements well within the quiet zone.
The Quiet Zone Guide should not appear on the "Print Ready PDF".
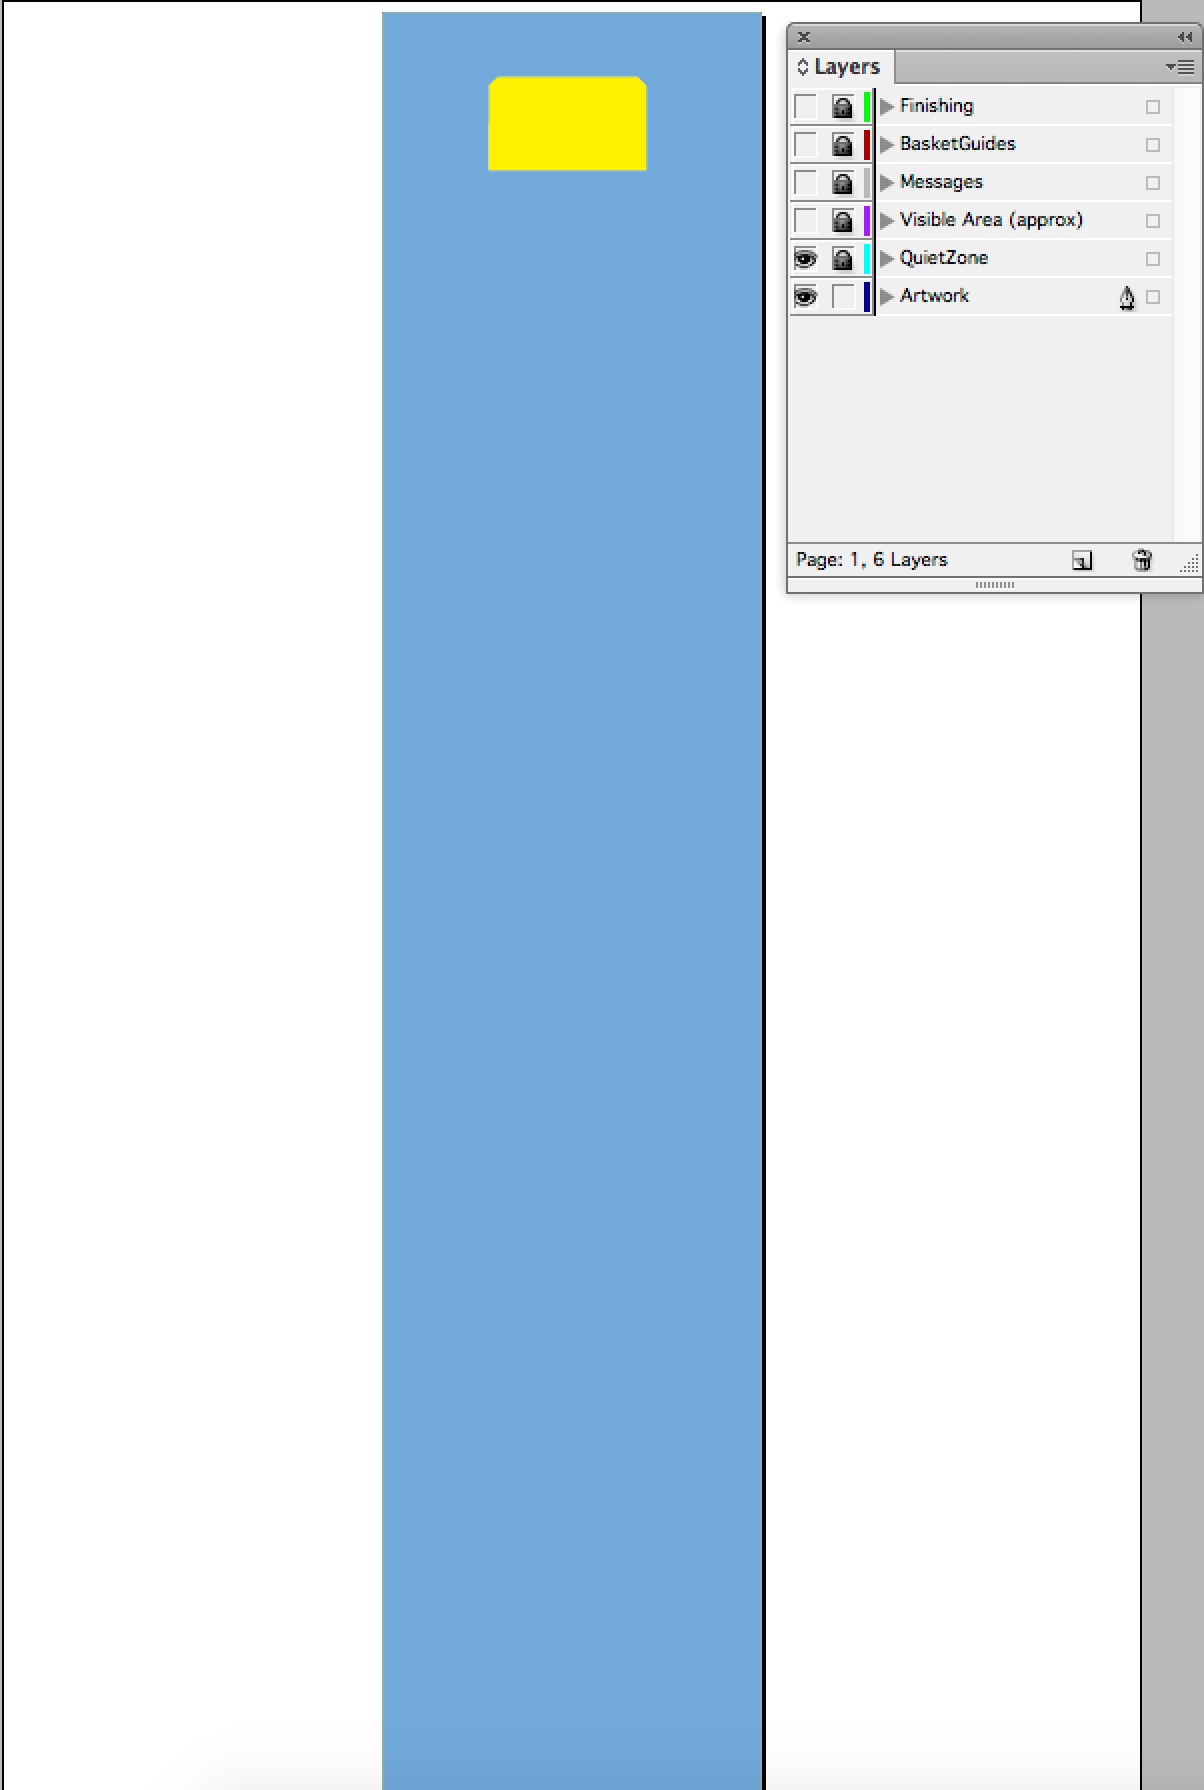
Shows the approximate hem/stitch/trim area.
The Visible Area layer should not appear on the "Print Ready PDF".
.png)
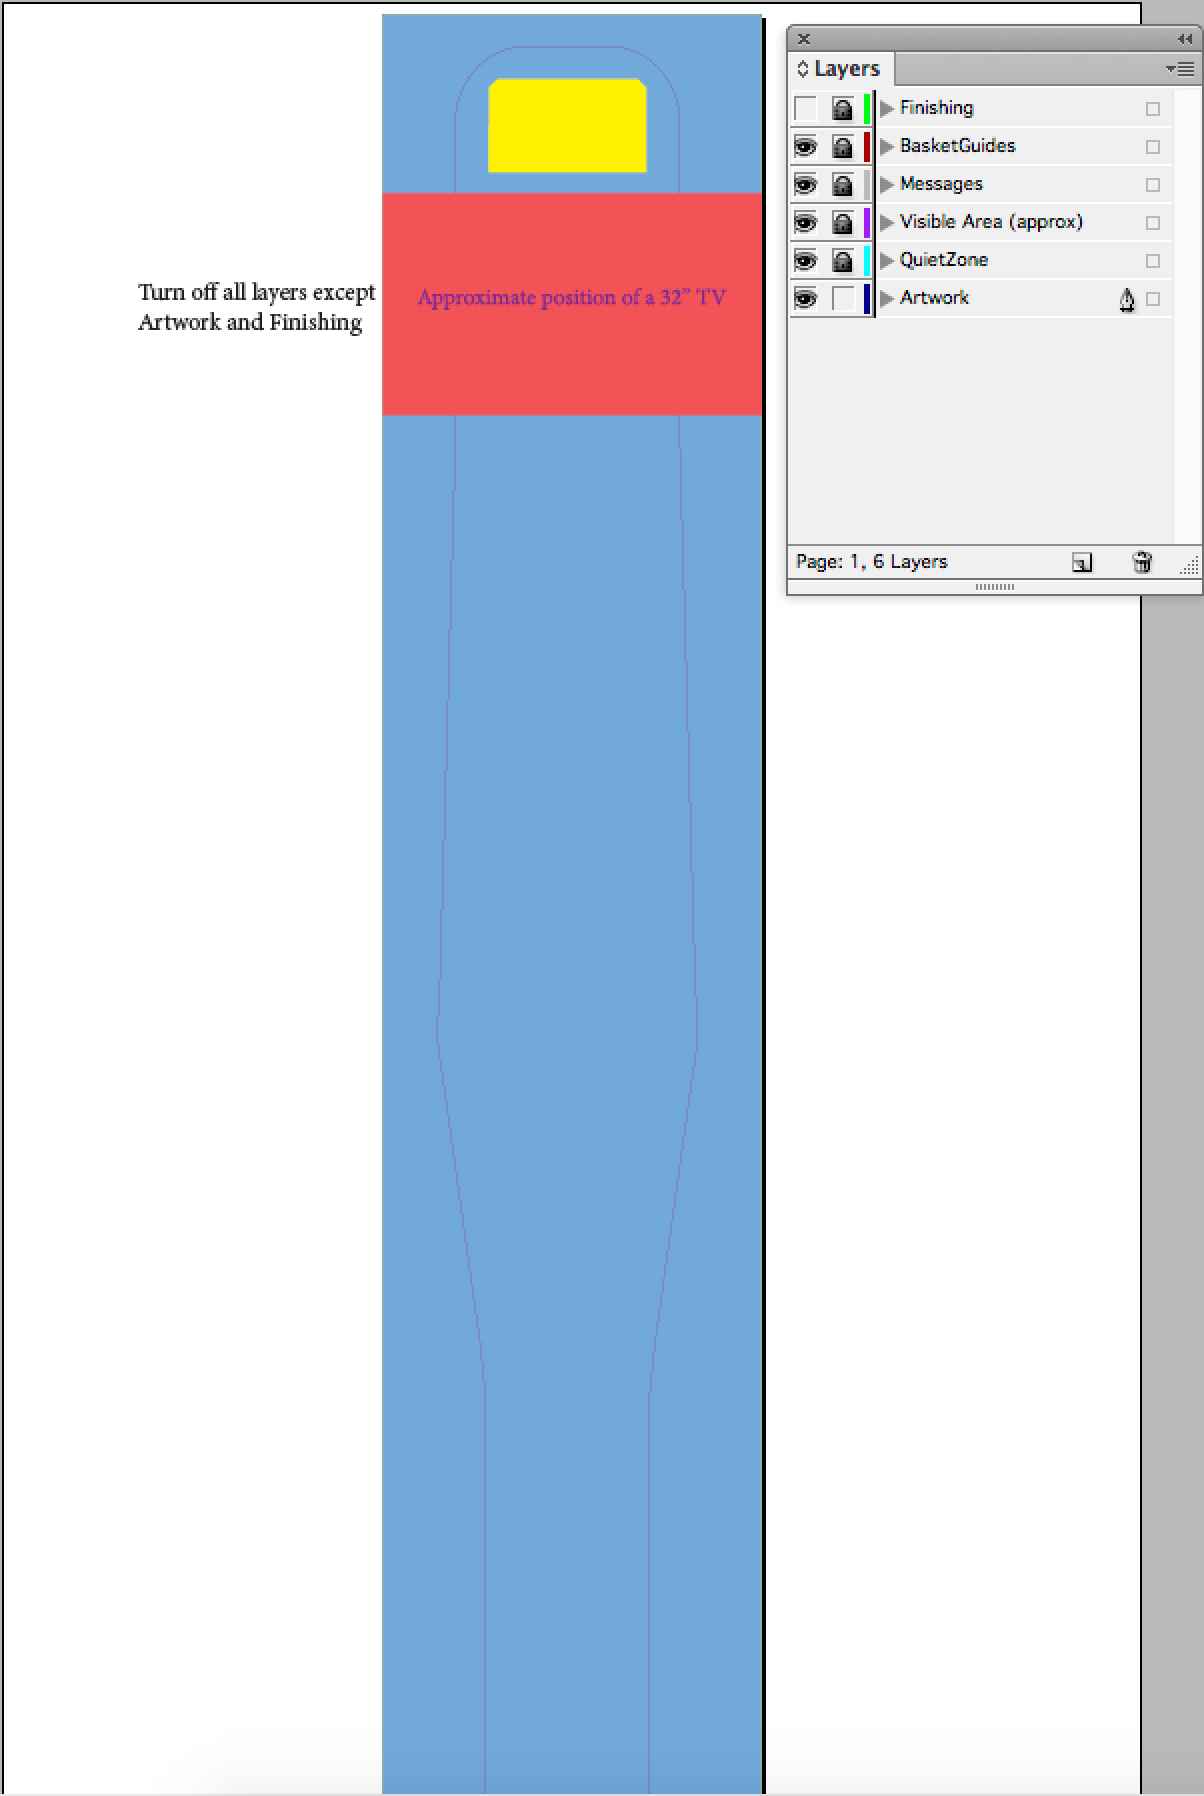
This layer provides an overlay demonstrating the positioning of any media attachments on the stand.
It is not recommended to have important elements behind or aligned to these overlays, due to the inherent variation in positioning of these.
Oslo/Peacock Stand Front
Oslo Stand Reverse
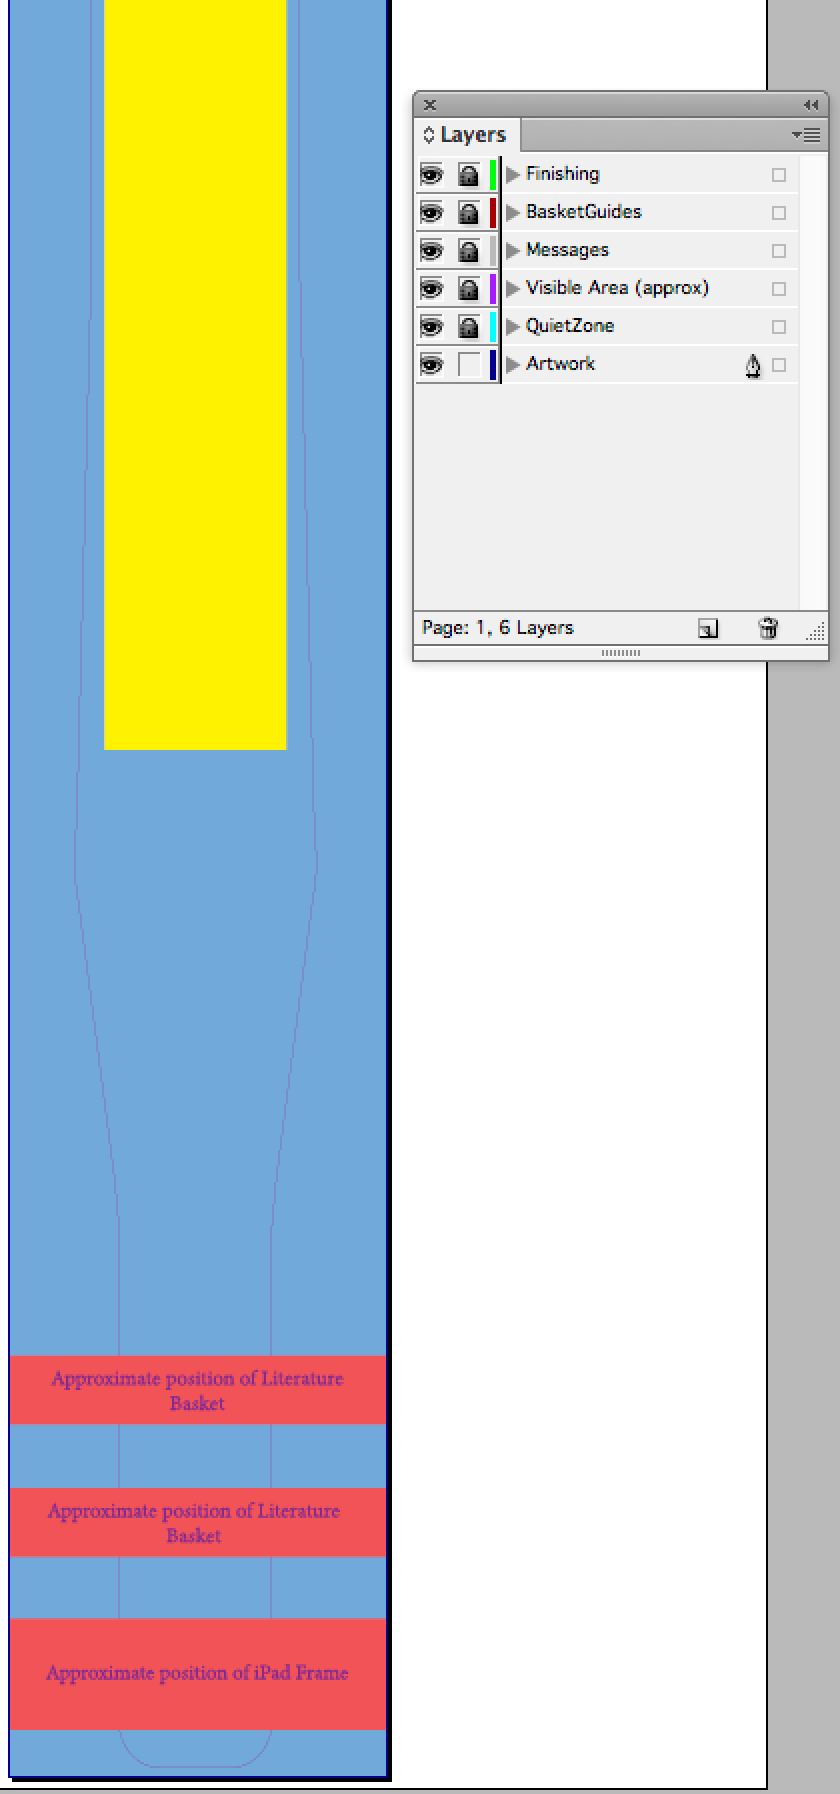
The Basket Guide layer should not appear on the "Print Ready PDF".
Contains a red guide on one edge to assist with our cutting template. This layer must be present on your PDF.
Jump to contents page of
|
|||